
How to bind and finish needlepoint edges
Finish a needlepoint edge in two stages. Before you stitch, fold tape over the raw cut edges, or overcast them by hand or machine, so they can't fray or snag. After you stitch and block, pieces such as belts, key fobs and ornaments get a finished edge: the bare canvas is folded to the back and covered with binding stitch.
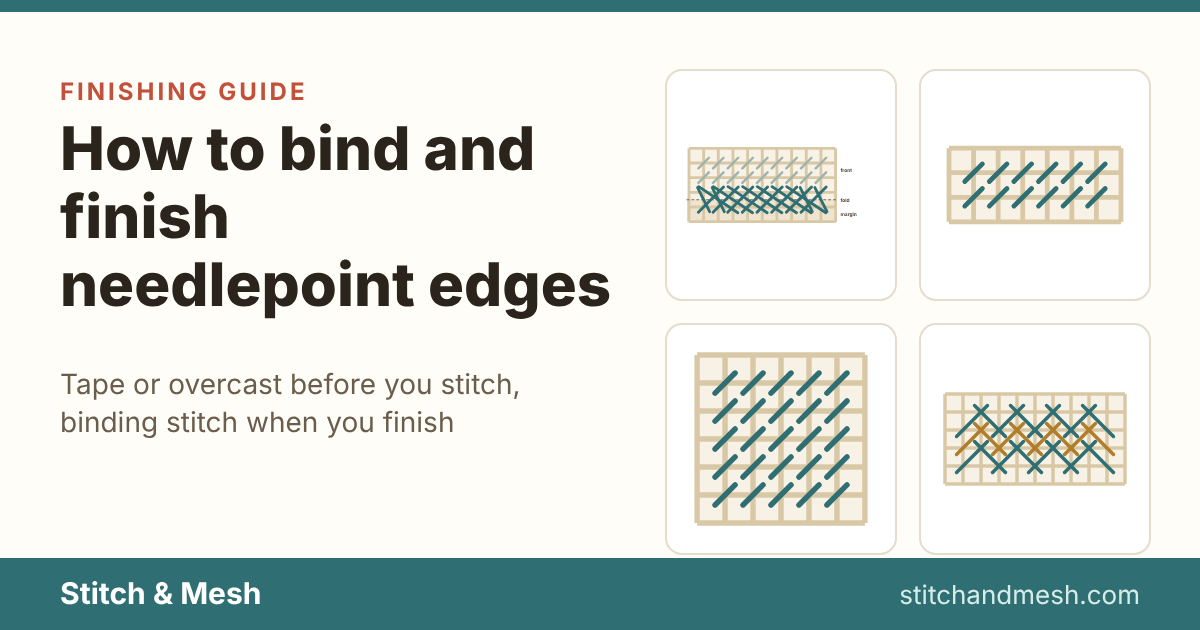
Why raw canvas edges are a problem
Needlepoint canvas is cut from a roll, and a cut edge is a row of stiff, loose thread ends. Left raw, those ends scratch your hands and wrists, catch the working thread on every stitch near the edge, and snag clothes and upholstery. The edge also frays as the canvas is handled, rolled and tacked, and on mono canvas a frayed edge can unravel several threads into the margin you need for finishing.
So an edge gets finished twice. Before you stitch, the raw cut edge is covered so it can't fray or snag. That part is setup, not design. After you stitch, some pieces need a finished edge of their own, a neat covered fold that is part of the object, and that's where binding stitch comes in.
Three ways to finish the edge
The three methods do different jobs, so most pieces use two of them: tape or an overcast edge while you stitch, and binding stitch at the end if the piece is self-finished without fabric.
| Method | When | Best for | Watch out for |
|---|---|---|---|
| Tape | Before stitching | Most canvases, first projects, short projects | Lifting with handling, and adhesive residue if left on for a long time |
| Overcast or sewn binding | Before stitching | Long projects, large canvases, canvases tacked and re-tacked on bars | Takes longer, and needs a sewing machine or some hand sewing |
| Binding stitch | After stitching and blocking | Belts, key fobs, tags, collars, coasters, self-finished ornaments, joined canvases | Needs a strip of margin to fold, and uses a lot of thread |
Tape
Tape is the usual method for a first project, and for most canvases it's enough. Fold masking tape, artist's tape or a cloth tape over each cut edge, so half the width is on the front and half on the back, and press it down firmly. Overlap the tape at the corners so they don't peel.
It takes a few minutes and covers the sharp ends completely. Its weak point is time: tape can lift with handling, and some tape adhesives leave a sticky residue or discolor the canvas if they stay on for a long time, especially in heat. For a piece you'll work on for months, choose a tape made for the job, such as artist's tape or a cloth tape, and replace any section that starts to lift.
Binding stitch
Binding stitch is a finishing stitch, not a way to prepare a raw edge. Once the design is stitched and blocked, you fold the bare canvas to the back right against the last row of stitching, and work binding stitch over the fold. It wraps the edge in a firm, braided ridge that covers the canvas completely, so the item needs no fabric edging.
It's the standard edge for pieces that are handled a lot and finished without a fabric backing or trim: belts, key fobs, luggage tags, pet collars, coasters and many self-finished ornaments. It's also used to join two canvases along a shared edge, for example the sides of a small box or an eyeglass case. Its order is back two holes, forward three, so every hole along the edge takes two wraps. The binding stitch page has the numbered diagram and the steps.
Corners and curves take a little planning. At a square corner, the usual approach is to fold one edge, bind up to the corner, then fold the next edge and carry on, working extra wraps into the corner hole so no canvas shows. On a curved or stepped edge, such as a round ornament, the stitch follows the line of holes beside the stitching like a staircase, keeping the same back-and-forward order. Practice on a scrap of canvas first: a few inches is enough to get the rhythm, and it shows how many wraps your thread needs to cover the fold on your mesh.
Because the canvas is folded, binding stitch needs a strip of bare canvas to turn under. Leave the full margin while you stitch and block, and trim it down only when you're ready to fold and bind.
Overcast or a sewn binding
For a raw edge that has to survive a long project, many stitchers sew it instead of taping it. A machine zigzag stitched along the cut edge, or a hand overcast stitch looped over it every couple of threads, holds the canvas threads in place and doesn't peel or leave adhesive. You can also fold a strip of bias tape or cotton binding over the edge and stitch it down through the canvas, the way you would bind a quilt.
A sewn edge takes longer than tape, but it lasts as long as the project does, it's soft against your wrists, and it gives tacks something firm to grip when the canvas goes on stretcher bars.
Do this before you start stitching
- Cut the canvas with a full margin. Leave bare canvas on every side of the design for blocking, mounting and finishing. The mesh and canvas size calculator adds a margin to the finished size for you.
- Cut straight along a row of holes, between two canvas threads, so the edge is square and nothing is half cut.
- Tape or overcast the cut edges, working on the outer edge of the margin, well away from the design. Don't let tape or stitching creep into the area you'll need to stitch or fold.
- Mark the top on the tape or the margin if the design could be turned the wrong way.
- Mount the canvas on bars or a scroll frame if you're using one, tacking through the finished edge.
Leave binding stitch until the end. It's worked on the fold beside the last stitched row, and that row has to exist first.
The how to needlepoint guide covers the rest of the setup for a first canvas.
What to leave for the finisher
If a professional will finish the piece, the edge they want is the one you started with: a full, untrimmed margin, still taped or overcast. Don't trim the canvas, don't fold it and don't work binding stitch along an edge unless the finisher has asked for it. A finisher making a pillow, a stocking or a framed piece needs the bare canvas to block, pin and sew, and a binding in the wrong place would have to be picked out.
Before you send it, ask:
- Should the tape stay on, or would they rather you remove it? Most are happy with the tape left on, but old tape that has gone gummy is better replaced or taken off.
- For a belt, a key fob or a collar, do they want the edge rows stitched in the background color, and how many extra rows?
- Do they block the canvas, or should you? How to block and frame needlepoint explains the home method.
If you're finishing the piece yourself, the order is: stitch, block, then fold and bind. How to finish needlepoint compares self-finishing with sending a piece out, and how to finish a needlepoint ornament walks through a small sewn finish.
Questions
Should I bind the canvas before I start stitching?
Cover the raw edges before you start, with tape or an overcast edge. Binding stitch itself comes at the end: it's worked over a folded edge beside the last stitched row, after the design is stitched and blocked.
Is binding stitch better than tape?
They do different jobs. Tape protects a raw cut edge while you stitch and is removed or hidden later. Binding stitch is the finished edge of an item such as a belt or a key fob, so it's part of the piece.
Do I take the binding off before blocking or finishing?
Tape and overcast edges usually stay on for blocking and go to a finisher as they are. Replace old tape that has gone gummy, and ask the finisher if you're unsure. Binding stitch is worked after blocking, so there is nothing to remove.
Can I just leave the edges raw?
You can for a quick, small piece, but raw canvas scratches, snags the working thread and frays into the margin a finisher needs. A few minutes of tape is worth it.